
How to Free Up Disk Space on Windows the Safe Way

Running out of room? Learning how to free up disk space on Windows the safe way can reclaim tens of gigabytes without risking your files or your system. A full drive doesn’t just stop you saving new files — it slows down updates, cripples virtual memory, and makes everything feel sluggish. The good news: Windows includes powerful built-in cleanup tools, and most wasted space sits in a handful of well-known hiding spots. This guide shows you exactly what’s safe to delete, what to never touch, and how to keep the space you reclaim.
First, See What’s Eating Your Space
Don’t delete blindly — diagnose first. Go to Settings > System > Storage and Windows will categorize your usage: Apps & features, Temporary files, Documents, Pictures, and more. Click any category for a breakdown. For a visual map, the free WizTree (or WinDirStat) scans your drive in seconds and shows every folder as a sized rectangle — the giant blocks are your targets. Common space hogs: the Downloads folder (years of installers), hiberfil.sys (hibernation file, often several GB), pagefile.sys (virtual memory), old Windows Update cleanup files, and forgotten games. Knowing where the gigabytes live turns cleanup from guesswork into a targeted strike. If you’re planning capacity, the free File Size Converter helps translate between GB, TB, and file counts.
Turn On Storage Sense (Set It and Forget It)
Storage Sense is Windows’ automatic housekeeper, and it should be on. Go to Settings > System > Storage, toggle Storage Sense on, then click it to configure: set it to run every week, delete temporary files apps aren’t using, empty the Recycle Bin after 30 days, and clean the Downloads folder of files untouched for 60 days (only enable this if your Downloads folder isn’t where you keep important things). If you use OneDrive, enable “make OneDrive files online-only” under Storage Sense — it keeps placeholder icons locally while the actual file contents live in the cloud, potentially freeing tens of gigabytes on synced PCs. This one setup prevents future buildup automatically; it’s the closest thing to a self-cleaning drive.
Run Disk Cleanup — Including System Files
The classic Disk Cleanup still finds gigabytes Storage Sense misses. Search for “Disk Cleanup” in Start, select your system drive (C:), and click “Clean up system files” — this restarts the tool with administrator privileges and reveals the big categories. Check Windows Update Cleanup (often 5–20 GB of superseded update files), Temporary files, Delivery Optimization Files, Recycle Bin, and Thumbnails. Click OK, confirm, and let it work — it can take several minutes on a neglected system. For an even deeper clean, the same tool lets you remove old system restore points (under the “More Options” tab) while keeping the most recent one. It’s conservative by design: everything it offers to delete is safe.
Uninstall Programs You Don’t Use
Applications are stealthy space eaters — a few forgotten games or creative suites can swallow 100+ GB. Go to Settings > Apps > Installed apps, sort by Size (large to small), and confront the top of the list honestly. Haven’t opened it in six months? Uninstall. Don’t recognize it? Look it up first, then likely uninstall. Pay special attention to: old games and their launchers, duplicate apps (two PDF readers, three media players), manufacturer bloatware, and trial software. Use the three-dot menu > Uninstall for each. For stubborn programs, Revo Uninstaller Free removes leftovers the standard uninstaller leaves. This isn’t just about gigabytes — fewer installed programs means fewer background processes and a snappier PC too.
Tame Downloads, Temp Files, and the Recycle Bin
Three folders quietly accumulate junk on every PC. Downloads: open it, sort by date, and delete ancient installers, duplicate downloads, and files you already moved elsewhere — or archive the keepers to an external drive. Temporary files: press Windows key + R, type %temp%, press Enter, select all (Ctrl+A), and delete; skip any files Windows says are in use. Do the same with temp (without percent signs) for the system temp folder. Recycle Bin: right-click the desktop icon and choose Empty Recycle Bin — deleted files still occupy space until you do. Together, these three spots commonly hide 10–30 GB on a PC that’s never been cleaned. Make it a quarterly habit and they’ll never get out of hand again.

Move Big Files to External or Cloud Storage
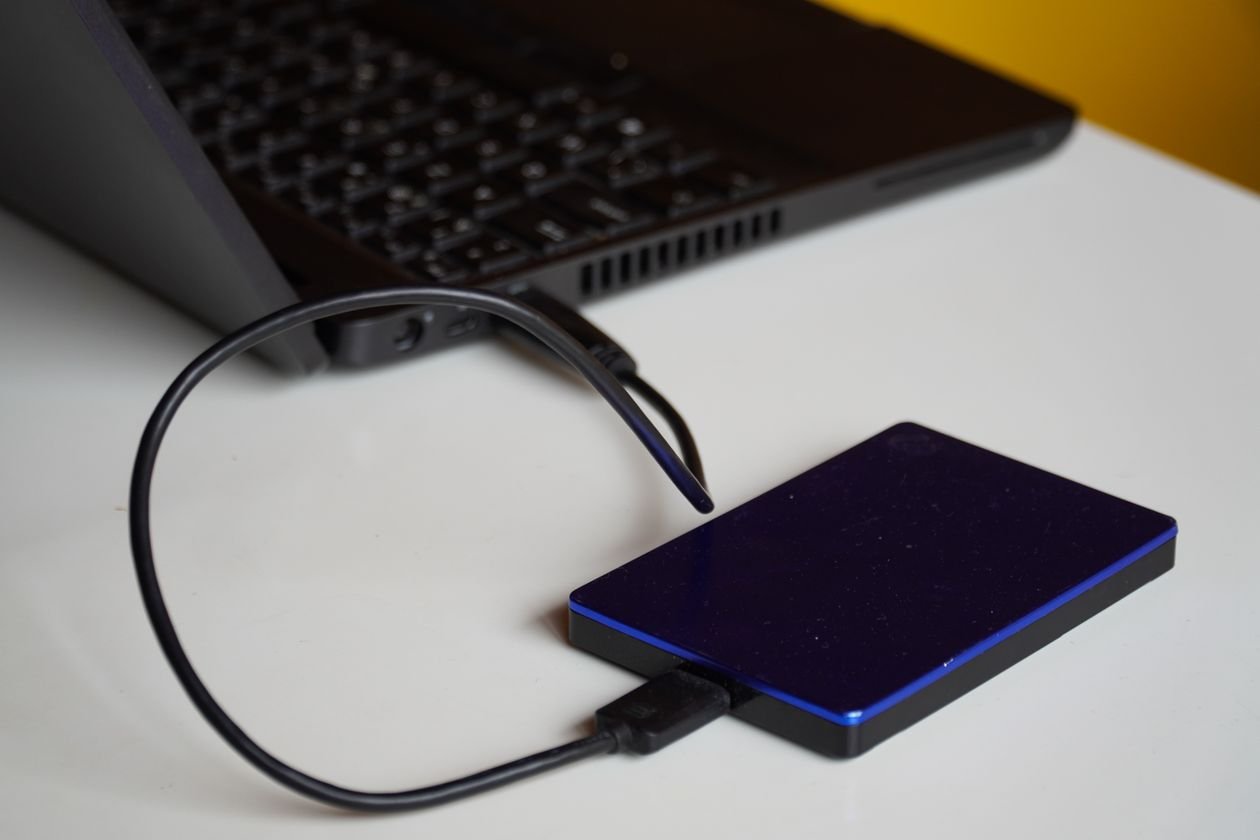
Some files are worth keeping but don’t need to live on your main drive. Photos and videos are the usual suspects — a few years of phone backups can exceed 100 GB. Move them to an external hard drive (cheap per terabyte) or cloud storage (OneDrive, Google Drive, or similar), then delete the local copies. Old project archives, ISOs, and VM images belong on external storage too. In Windows, you can relocate entire user folders: right-click Documents (or Pictures, Videos) > Properties > Location > Move, and point it at a folder on your external drive — Windows handles the rest transparently. If you use OneDrive, Files On-Demand (right-click any file > “Free up space”) keeps the file in the cloud with a local placeholder, giving you the best of both worlds. The goal: your fast internal drive holds Windows, apps, and active work — everything else lives somewhere cheaper.
What NEVER to Delete
This is the section that saves you from disaster. Never delete: anything in C:\Windows (except via Disk Cleanup), the Program Files folders (uninstall properly instead), pagefile.sys or hiberfil.sys manually (manage them through Settings if needed, but don’t just delete), the System Volume Information folder (restore points), or random .dll files. Don’t use registry cleaners to “free space” — the registry is tiny and cleaners break things. Don’t disable System Restore entirely to save a few GB; it’s your lifeline when updates go wrong. And don’t delete the Windows.old folder manually within 10 days of an upgrade — use Disk Cleanup’s “Previous Windows installations” option instead, which removes it safely after the rollback window. When in doubt, Google the folder name before touching it. Caution here is worth more than any gigabytes.
When It’s Time for a Bigger Drive
Sometimes cleanup isn’t enough — you’ve trimmed everything and the drive is still gasping. Signs it’s time to upgrade rather than clean: you’re constantly under 10% free space despite regular maintenance, you’re deleting files you actually want to keep, or your drive is an old small SSD (128–256 GB) in an era of 100 GB games. The fix is a larger SSD (see our storage guide), and prices for 1–2 TB drives have never been friendlier. As a stopgap, a microSD card (for laptops with a slot) or external SSD can hold overflow cheaply. But don’t let a full drive limp along indefinitely — Windows needs breathing room (aim for 15–20% free) for updates, virtual memory, and basic sanity. For more Windows maintenance guides and free utilities, visit the InsuraBytes tools hub.
Conclusion
To free up disk space on Windows safely, work the safe list: check Storage settings to find the hogs, turn on Storage Sense for automatic maintenance, run Disk Cleanup with system files, uninstall unused programs, empty Downloads/Temp/Recycle Bin, and move big archives to external or cloud storage. Never touch the Windows folder, Program Files, or system files directly — use the built-in tools designed for the job. Do this cleanup quarterly and enable Storage Sense, and you’ll rarely see that dreaded “low disk space” warning again. And if cleanup reveals you simply need more room, that’s valuable information — upgrade the drive with confidence instead of fighting the same battle every month.
Your Quarterly 15-Minute Disk Maintenance Checklist
Cleanup works best as a habit, not a rescue mission. Pin this 15-minute routine to your calendar every three months and your drive will stay healthy on its own. First, empty the Recycle Bin and clear the Downloads folder of anything older than a month — two minutes. Second, run Storage Sense manually (Settings > System > Storage > Storage Sense > Run Storage Sense now) and let it sweep temporary files — three minutes while you do something else. Third, open Installed apps sorted by size and remove anything you installed for a one-time task and forgot — five minutes. Fourth, move that quarter’s photos and videos to external or cloud storage — five minutes. That’s it: fifteen minutes, four steps, and you’ll rarely face a full-drive emergency again. Set a recurring calendar reminder so you don’t rely on memory — future you will be grateful when the next big Windows update downloads without a hitch.
Frequently Asked Questions
Is it safe to delete everything in the Temp folder? Yes. Press Windows key + R, type %temp%, select all, and delete; skip any files Windows says are in use. These are scratch files that applications should have cleaned up themselves. Will Disk Cleanup delete my personal files? No. It only targets system-generated categories like update leftovers, thumbnails, and delivery optimization files — it never touches your documents, photos, or downloads unless you explicitly check those boxes. How much free space should I keep? Aim for at least 15–20% of your drive free. Windows needs that headroom for updates, virtual memory, and temporary files; below 10%, expect slowdowns and failed updates. Does emptying the Recycle Bin really free space? Yes — files in the Recycle Bin still occupy disk space until you empty it. “I deleted 50 GB but nothing changed” almost always means the Bin was never emptied.





2 Comments