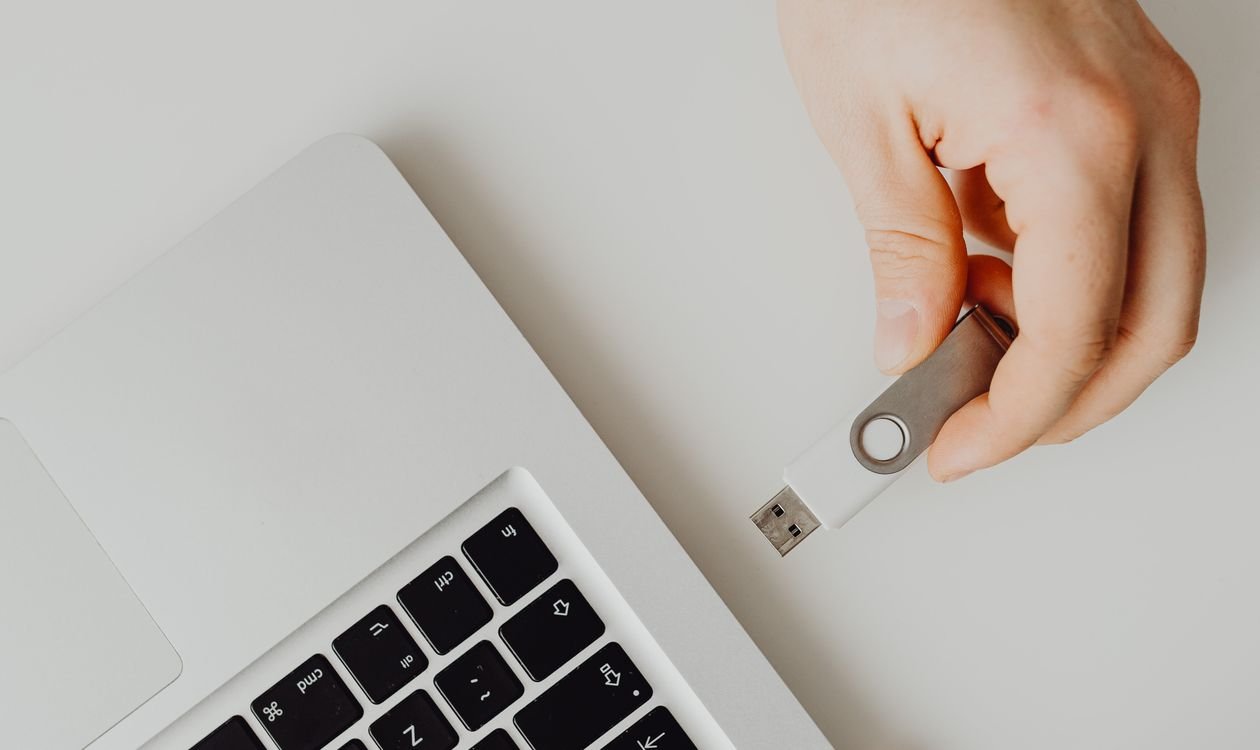
How to Clean Install Windows 11 From a USB Drive
Learning how to clean install Windows 11 from USB is the best way to give a slow, cluttered, or infected PC a completely fresh start. Unlike a reset, which can leave old settings and files behind, a clean install wipes the drive and installs Windows from scratch, so you end up with a fast, stable system and no leftover junk. This guide walks you through the whole process step by step: backing up your files, creating a bootable USB drive with Microsoft’s free Media Creation Tool, changing the boot order in BIOS or UEFI, deleting the old partitions, and finishing the setup with drivers and updates. You do not need to be a computer expert. If you can follow instructions and have about an hour to spare, you can do this.
A clean install is worth the effort when your PC has become slow despite your best attempts to speed it up, when Windows is damaged or infected with malware, or when you have replaced the main drive and need to set up Windows on a blank disk. It is also the cleanest way to move to Windows 11 on a PC that has been running an older version of Windows for years. The trade-off is that it erases everything on the drive, so the backup step below is not optional. Once you have a backup, the rest of the process is straightforward.
Before You Start: What You Need
Gather these things before you begin, so you do not have to stop halfway through.
- A USB flash drive with at least 8 GB of space. Everything on it will be erased, so use a spare drive or copy its contents elsewhere first.
- A working Windows PC with an internet connection, to create the bootable drive. This can be the same PC you are about to reinstall, or another computer.
- Your files backed up somewhere safe, such as an external drive or a cloud service. We cover this in Step 1.
- Your Windows product key, if you have one. Most modern PCs store the key in the firmware, and Windows will activate itself automatically, but keep the key handy just in case.
- About an hour of uninterrupted time, plus a power cable. Do not run the install on battery power.
- Your Wi-Fi password, because Windows will ask for it during setup.
One warning: a clean install erases all programs, files, and settings on the drive you install Windows on. If your PC has a second drive with files on it, those files are safe as long as you only wipe the Windows drive, but back them up too if you can. Better safe than sorry.
Step 1: Back Up Your Files First
Before you touch the installer, back up everything you want to keep: documents, photos, videos, browser bookmarks, and any files stored on your desktop. The easiest built-in option is File History, which copies your personal folders to an external drive automatically. Our guide explains how to back up your files on Windows 11 with File History step by step.
Also make a list of the programs you use, so you can reinstall them afterwards, and save any product keys or license details for paid software. Check that your backup actually worked: open the external drive and confirm your files are there before you continue. If you use a cloud service such as OneDrive or Google Drive, check that your important files have finished syncing. Once the install starts, anything left on the Windows drive is gone for good.
Step 2: Create a Bootable USB Drive With the Media Creation Tool
Microsoft’s Media Creation Tool is the official, free way to turn a USB drive into a Windows 11 installer. Here is how to use it.
- On a working PC, go to Microsoft’s Windows 11 download page and click “Download Now” under “Create Windows 11 Installation Media”.
- Run the downloaded tool and accept the license terms.
- Choose your language and edition, or leave the recommended options selected, then click Next.
- Select “USB flash drive” and click Next.
- Choose your USB drive from the list. Double-check that you picked the right one, because it will be erased.
- Click Next and wait while the tool downloads Windows 11 and writes it to the drive. This usually takes 10 to 30 minutes depending on your internet speed.
- When the tool says the drive is ready, click Finish and remove the USB drive.
Your bootable USB drive is now ready. If the Media Creation Tool fails, or you want more control, the free tool Rufus can create a bootable drive from a Windows 11 ISO file downloaded from the same Microsoft page. For most people, the Media Creation Tool is the simplest choice.
Step 3: Boot From the USB Drive
Now plug the USB drive into the PC you want to reinstall and turn it on. Your PC needs to start from the USB drive instead of its internal drive, and that means changing the boot order in the BIOS or UEFI settings.
As soon as you press the power button, start tapping the boot menu key. The key varies by manufacturer: F12 is common on Dell and Lenovo, F9 on HP, F8 on ASUS, and Esc on some other brands. If the boot menu appears, choose your USB drive from the list and press Enter. If it does not appear, you will need to enter the BIOS or UEFI setup instead, usually by pressing Delete or F2 as the PC starts, and then change the boot order so the USB drive is first.
In the BIOS or UEFI, look for a “Boot” or “Boot Order” section. Move the USB drive to the top of the list, save your changes, and exit. The PC will restart and should boot from the USB drive. A message saying “Press any key to boot from USB” may appear; press a key quickly, or the PC will boot from its hard drive instead. If you see the Windows Setup screen, you are in the right place.

Step 4: Delete and Format the Partitions
This is the step that makes it a clean install, so read it carefully. After the setup program starts, choose your language, time, and keyboard layout, click Next, then click “Install Now”. Enter your product key if asked, or click “I don’t have a product key” if Windows will activate automatically. Accept the license terms and choose “Custom: Install Windows only (advanced)”.
You will now see a list of partitions on your drive. Select each partition on the drive where Windows lives and click Delete, one at a time, until the drive shows as a single block of “Unallocated Space”. This erases everything on that drive, including the old Windows installation and all your files, which is exactly the point of a clean install. If your PC has a second drive, leave its partitions alone.
Select the unallocated space and click Next. Windows will create the partitions it needs and begin copying files. Do not worry about the partition sizes; the installer handles them. From here, the installation runs on its own for 10 to 20 minutes, and your PC will restart a few times. Leave the USB drive plugged in until the setup is finished.
Step 5: Clean Install Windows 11 From USB
Once the files are copied, Windows will restart and continue the installation. You will see the Windows logo and a series of “Getting ready” screens. This is normal. When the PC restarts, it may try to boot from the USB drive again; if you see “Press any key to boot from USB”, do not press anything, and let it boot from the internal drive.
The installer may restart your PC two or three times. Each time, it picks up where it left off. When it is done, you will reach the out-of-box experience, the first-run setup screens. If the installation seems stuck on a screen for a long time, be patient: on older hardware it can take a while. Only restart the PC yourself if nothing has changed for more than an hour.
Step 6: Complete the First-Run Setup
The first-run setup, also called OOBE, asks you a series of questions. Choose your region and keyboard layout, connect to your Wi-Fi network, and sign in with your Microsoft account. A Microsoft account is required for Windows 11 Home; on Windows 11 Pro you can also use a local account. Signing in with a Microsoft account has real benefits: it links your Windows license to your account and restores your settings and files from OneDrive.
Next, set a PIN for signing in, which is quicker than typing a password every time. You will also see privacy settings for location, diagnostics, and advertising. You can turn most of these off if you prefer; none of them affect how Windows works. Finally, Windows will ask whether to restore files from another PC. If you backed up to OneDrive, you can restore your files here. After a few minutes of “This might take a few minutes” screens, you will reach the Windows desktop.
Step 7: Install Drivers and Windows Update
Your fresh Windows is usable, but it is not finished yet. The first thing to do is run Windows Update: open Settings, then Windows Update, and click “Check for updates”. Install everything it offers, then restart and check again. Repeat until no more updates appear. Windows Update will install most of your drivers automatically, including drivers for your network, sound, and graphics.
After Windows Update, check your PC manufacturer’s website for drivers that Windows did not find, especially chipset and graphics drivers. On a laptop, the manufacturer’s support page usually lists everything in one place. If your screen resolution looks wrong or your Wi-Fi does not work, a missing driver is the most likely cause, and installing the manufacturer’s driver will fix it. While you are there, check that Windows is activated: open Settings, then System, then Activation. It should say “Windows is activated”. If it does not, and your PC came with Windows preinstalled, give it a day and an internet connection; activation usually sorts itself out.
What to Do If the PC Won’t Boot From USB
If your PC ignores the USB drive and boots straight into the old Windows, work through this list. Without a working bootable drive, you cannot clean install Windows 11 from USB, so it is worth fixing this before you start over.
- Check the boot order again. The USB drive must be first in the BIOS or UEFI boot list, and you must save the change before exiting.
- Try a different USB port. Some PCs will only boot from a USB 2.0 port, or from a port on the back of a desktop, so try another one.
- Remake the drive. If the Media Creation Tool was interrupted, the drive may be incomplete. Run it again on a different USB drive if you have one.
- Turn off Fast Boot in the BIOS or UEFI. Fast Boot can skip the window for detecting the USB drive.
- Check UEFI and Secure Boot settings. Windows 11 needs UEFI mode, not Legacy or CSM mode, and Secure Boot should be on. If your BIOS is set to Legacy mode, switch it to UEFI.
- Try the boot menu key again. On some PCs you need to press the key repeatedly, not hold it down.
- Test the drive on another PC. If it boots there, the drive is fine and the problem is the first PC’s settings.
If none of these work, the USB drive itself may be faulty. Flash drives do fail, and a drive that works for storing files can still fail as a boot device. Try a different drive before assuming the PC is at fault.
After the Install: A Quick Checklist
With Windows installed, work through this short checklist before you call it done. Reinstall your programs from the list you made before the backup, and restore your files from the external drive or cloud storage. Sign in to your browser to get your bookmarks and passwords back, and check that your printer and other devices still work. Set up File History again so your files are protected from now on. Our guide to how to set up a new Windows PC step by step covers the rest of the first-day setup, including the settings worth changing and the free apps worth installing.
Frequently Asked Questions
Will a clean install delete my files?
Yes. A clean install erases everything on the drive you install Windows on, including your files, programs, and settings. That is why the first step in this guide is to back up. Files on a separate drive are safe as long as you do not delete that drive’s partitions during setup.
Do I need a product key for a clean install of Windows 11?
Usually not. Most PCs that came with Windows 10 or 11 store the product key in the firmware, and Windows activates itself automatically after the install. If setup asks for a key, click “I don’t have a product key” and Windows will activate once it connects to the internet.
How long does a clean install of Windows 11 take?
Plan for about an hour in total. Creating the USB drive takes 10 to 30 minutes, the installation itself takes 15 to 30 minutes, and the first-run setup and updates add another 15 to 30 minutes. A fast PC with an SSD and a quick internet connection can finish sooner.
Can I clean install Windows 11 without a USB drive?
Yes, you can mount a Windows 11 ISO file and run setup from inside Windows, but that is not a true clean install: it keeps some of your old files and settings unless you choose otherwise, and it cannot fix a PC that will not boot. A USB drive is the most reliable method, and it works even when Windows will not start.
Why won’t my PC boot from the USB drive?
The most common causes are the wrong boot order, a USB drive that was not created properly, or the BIOS being set to Legacy mode instead of UEFI. Work through the troubleshooting list above: check the boot order, try another USB port, remake the drive, and confirm that UEFI mode is on.
Conclusion
A clean install of Windows 11 from a USB drive sounds technical, but it is really a series of simple steps: back up, make the drive, boot from it, wipe the old partitions, and let the installer do its work. The reward is a PC that feels new again, without the clutter, errors, and leftover programs that build up over years of use. Take your time, keep your backup safe until you are sure everything is restored, and run Windows Update until it finds nothing more. Your fresh Windows 11 install will be faster, more stable, and easier to keep that way.