
How to Stop Windows 11 From Slowing Down Over Time
Learning how to stop Windows 11 from slowing down over time is essential if you want your computer to feel as fast in its second year as it did on day one. Most Windows computers do not slow down because they are old; they slow down because startup programs multiply, storage fills up, background apps compete for memory, and old files accumulate. The good news is that almost all of these problems are fixable without buying a new computer or paying for a so-called PC cleaner.
This guide explains why Windows 11 slows down, how to diagnose the real cause on your computer, and how to keep it fast with a simple maintenance routine. You will learn which settings actually help, which popular tweaks are myths, and when a hardware upgrade is genuinely worth the money. The steps are safe, reversible, and suitable for beginners, and they do not require registry hacks or risky third-party optimisers.
Why Windows 11 Gets Slower Over Time
When you first set up Windows 11, very few programs run at startup and your drive has plenty of free space. Over months, every new app may add itself to startup, install a background service, or add a browser extension. Antivirus scans, cloud sync tools, chat apps, and update services all compete for the same processor and memory. Meanwhile, downloads, photos, videos, and temporary files fill the drive, leaving less room for Windows to work efficiently. A drive that is more than 85 percent full will noticeably slow down, especially a traditional hard drive.
Heat and age also play a role. Dust in fans and vents makes a laptop run hotter, and a hot computer slows itself down to avoid damage, a process called thermal throttling. Old hard drives develop slower access times, while a failing drive can cause long freezes. Finally, expectations rise: new versions of browsers, games, and apps demand more resources than the versions you used a year ago. Understanding these causes helps you fix the right problem instead of guessing.
Start With Startup Programs
Startup programs are the single biggest cause of slow boot times. Open Task Manager with Ctrl, Shift, and Esc, go to the Startup apps section, and look at the impact column. Disable apps you do not need immediately at login, such as game launchers, chat apps you use occasionally, and software updaters for programs you rarely open. Keep your antivirus and cloud sync tool enabled if you rely on them, but disable anything you can open manually later. Restart and notice the difference: a computer with ten startup apps will often boot in half the time of one with thirty.
Be careful not to disable drivers or system services you do not recognise. If you are unsure about an entry, search for its name online before disabling it. Most entries show the publisher, which helps you decide. You can always re-enable a startup app later, so this step is safe and reversible. Repeat this check every few months, because new software will quietly add itself back to startup.
Free Up Storage the Safe Way
Windows includes a safe cleanup tool that removes temporary files, update leftovers, and Recycle Bin contents without touching your documents. Open Settings, go to System, then Storage, and use Storage Sense or Cleanup recommendations. Storage Sense can automatically delete temporary files and empty the Recycle Bin on a schedule, which prevents clutter from building up. Check what it plans to delete before confirming, especially if you keep files in Downloads that you still need.
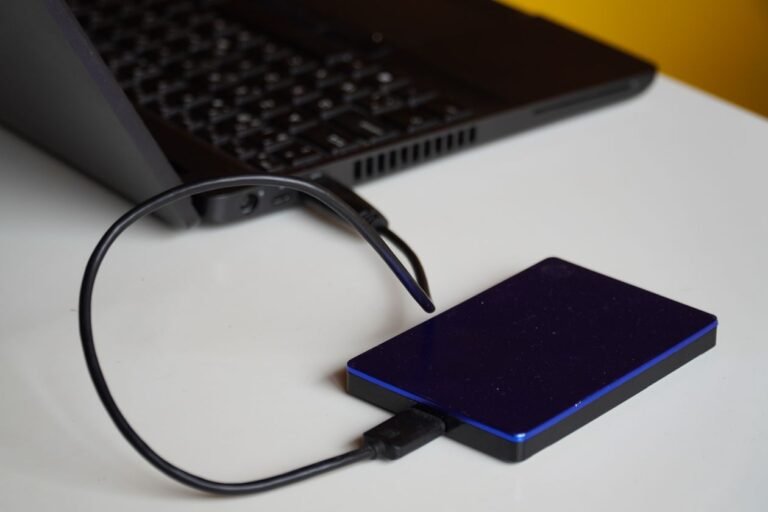
Next, review your largest folders. Sort Downloads, Documents, and Pictures by size and move large videos and old installers to an external drive or cloud storage. Uninstall programs you no longer use through Settings, then Apps, then Installed apps, sorting by size. Do not delete Windows system folders or files you do not recognise, and avoid registry cleaners, which rarely help and can break Windows. A good target is to keep at least 20 percent of your drive free, or at least 20 to 30 GB on a small drive.
Manage Background Apps and Browser Tabs
Many Windows apps run in the background even when you are not using them, checking for messages, syncing files, or updating content. In Settings, go to Apps, then Installed apps, choose an app, and check its background permissions. Turn off background activity for apps you use rarely, such as games and shopping apps, while keeping it on for mail, calendar, and messaging apps you need. This reduces memory use and can improve battery life on laptops.
Your browser is another common culprit. Dozens of open tabs and extensions consume large amounts of RAM, especially in Chrome and Edge. Close tabs you are not using, bookmark pages you want to return to, and remove extensions you do not need. Use your browser’s task manager, found in its menu, to see which tabs and extensions use the most memory. If your computer has only 8 GB of RAM, keeping tabs under twenty at a time will make a visible difference.
Keep Windows and Drivers Updated
Outdated Windows updates and drivers can cause slowdowns, because bugs that waste processor time remain unfixed. Open Settings, go to Windows Update, and install recommended updates regularly. Also check Optional updates for driver updates, but only install drivers for hardware you recognise. For graphics and laptop-specific drivers, use the manufacturer’s website, as explained in our driver guide. Do not install driver updater programs that promise to speed up your computer, because they often add their own background services and can install the wrong driver.
Restart your computer after updates, and do not postpone restarts for weeks. Many updates only take full effect after a restart, and a computer that has been running for a month without one will often feel sluggish simply because memory has fragmented and temporary processes have accumulated. A weekly restart is a simple habit that keeps Windows responsive, and it takes only a minute or two.
Check for Malware and Unwanted Software
Malware and unwanted programs are a common hidden cause of slowdowns, because they run constantly in the background, show ads, or mine cryptocurrency. Run a full scan with Windows Security, and remove any program you do not recognise from Installed apps. Be especially wary of free PC cleaners, speed boosters, and browser toolbars that appeared after installing another program. These tools often slow a computer more than they help, and some are designed to show alarming warnings to sell a paid version.
If scans find nothing but your computer is still very slow, check Task Manager’s Processes tab sorted by CPU and memory. A single process using most of your processor for a long time may be a runaway program, a failing update, or malware that a quick scan missed. End the task if it is not a system process, then investigate its name. Persistent high usage from an unknown process deserves a deeper scan or professional help.
SSD, RAM, and When Hardware Upgrades Help
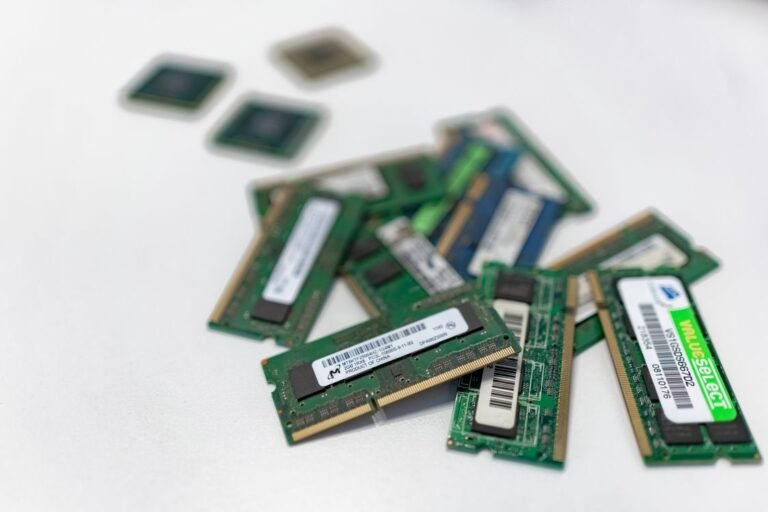
Software fixes have limits. If your computer still uses a traditional hard drive, upgrading to an SSD is the single most effective speed upgrade available, and it often makes an old computer feel new. Windows, browsers, and apps load several times faster from an SSD, and the computer wakes from sleep almost instantly. If you have 8 GB of RAM and you regularly use many tabs and apps, upgrading to 16 GB will also reduce stuttering and disk swapping. These upgrades are usually affordable and can extend a computer’s useful life by years.
Before spending money, check what is actually slow. If Task Manager shows memory constantly above 90 percent, RAM is the bottleneck. If disk usage stays at 100 percent during normal use, storage is the bottleneck. If the processor is always maxed out, your computer may simply be too old for the software you run, or a background process may be at fault. A new computer is justified when the processor, RAM, and storage are all outdated and upgrades would cost almost as much as a replacement.
Simple Maintenance Routine That Works
Set a monthly routine and stick to it. First, restart and install Windows updates. Second, review startup apps and remove programs you no longer use. Third, run Storage Sense and check that you have at least 20 percent free space. Fourth, close unused browser tabs and remove unneeded extensions. Fifth, run a quick security scan. This routine takes about thirty minutes a month and prevents most gradual slowdowns. Add a physical clean every six months: shut down, unplug, and gently clear dust from vents with compressed air, following your manufacturer’s guidance.
Avoid the temptation to tweak the registry, disable Windows services you do not understand, or install multiple optimisers at once. Those changes rarely help and can make troubleshooting much harder. Windows 11 is designed to manage itself well when it has free space, reasonable startup load, and up-to-date software. Your job is to keep it clean and give it room to work, not to micromanage every setting.
Conclusion
Stopping Windows 11 from slowing down over time is mostly about prevention: fewer startup programs, more free storage, fewer background apps, regular updates, and a quick monthly check. You do not need expensive cleaners or risky tweaks. Fix the causes you can see in Task Manager and Storage settings, upgrade to an SSD or more RAM only when the evidence points that way, and keep your computer physically clean and cool. With those habits, your Windows computer can stay fast for years.
For more free Windows help, explore the InsuraBytes free tools hub and use the Download Time Calculator when planning large downloads or backups. A little planning keeps both your storage and your schedule under control.
Visual Effects, Notifications, and Power Settings
Windows 11’s animations and transparency effects look attractive, but they use graphics resources, especially on older computers. Open Settings, go to Accessibility, then Visual effects, and turn off transparency and animation effects if your computer feels sluggish. The difference is small on a fast computer, but on a machine with integrated graphics it can make menus and windows feel noticeably snappier. You can also open System, then About, then Advanced system settings, and under Performance choose Adjust for best performance, then re-enable only the options you value, such as smooth fonts.
Power settings matter too, especially on laptops. In Settings, go to System, then Power, and check your power mode. Balanced mode is best for everyday use, while Best performance mode can help during demanding work but uses more battery and generates more heat. Best power efficiency mode may slow a computer noticeably, so avoid it unless battery life is your top priority. Notifications from many apps can also interrupt work and use resources, so turn off notifications for apps you do not need in Settings, then System, then Notifications.
When a Clean Install Is Worth Considering
If you have tried startup cleanup, storage cleanup, updates, and malware scans, and your computer is still very slow, a clean Windows install can help. Over years, leftover drivers, old software, and corrupted settings can accumulate in ways that are hard to untangle. A clean install gives you a fresh start, but it requires backing up all personal files, reinstalling programs, and re-entering passwords and licences. Before taking this step, back up documents, photos, and browser bookmarks, and make a list of programs you need to reinstall.
Windows offers a Reset option that can keep your personal files while reinstalling Windows, which is less drastic than a full clean install. Go to Settings, then System, then Recovery, and choose Reset PC. Read each option carefully, because some choices remove apps and settings. A reset is a good last resort for software slowdowns, but it will not fix a failing hard drive or a computer that is simply too old for modern software. If a reset does not help, hardware is likely the real limit.
Frequently Asked Questions
Do PC cleaner programs speed up Windows 11? Usually no. Windows already includes Storage Sense, Disk Cleanup, and Task Manager, which handle the main causes of slowdowns. Third-party cleaners often add background services, show exaggerated warnings, and risk deleting useful files. Stick to built-in tools unless a trusted professional recommends otherwise. Should I disable all startup programs? No. Keep antivirus, audio, and any tool you need at login, and disable only apps you can open manually. Disabling a driver-related startup item can break a feature, so research unfamiliar entries first.
How often should I restart my computer? At least once a week is a good habit, and more often if you use demanding apps. A restart clears temporary processes, applies updates, and frees memory. Leaving a computer on for weeks without a restart is a common, easily fixed cause of sluggishness. Will more RAM always help? Only if RAM is the bottleneck. Check Task Manager: if memory is regularly above 90 percent, more RAM will help. If memory is low but disk usage is high, an SSD upgrade is more useful. Diagnose first, then spend.
Your Monthly Speed Checklist
Use this checklist once a month to keep Windows 11 fast. Restart and install updates. Review startup apps and uninstall unused programs. Run Storage Sense and confirm at least 20 percent free space. Close unused browser tabs and extensions. Run a quick security scan. Check that fans and vents are clear and that the computer is not overheating. Note any new slowness and what changed before it appeared, such as a new program or update, because that clue often identifies the cause immediately.
Share this routine with anyone in your household who complains about a slow computer. Most slowdowns are not mysterious: they are the result of small, reversible choices that accumulate over time. With regular, simple maintenance, Windows 11 can stay responsive for the full life of your computer, saving you the cost and hassle of an early replacement.