How to Set Up Dual Monitors on Windows 11
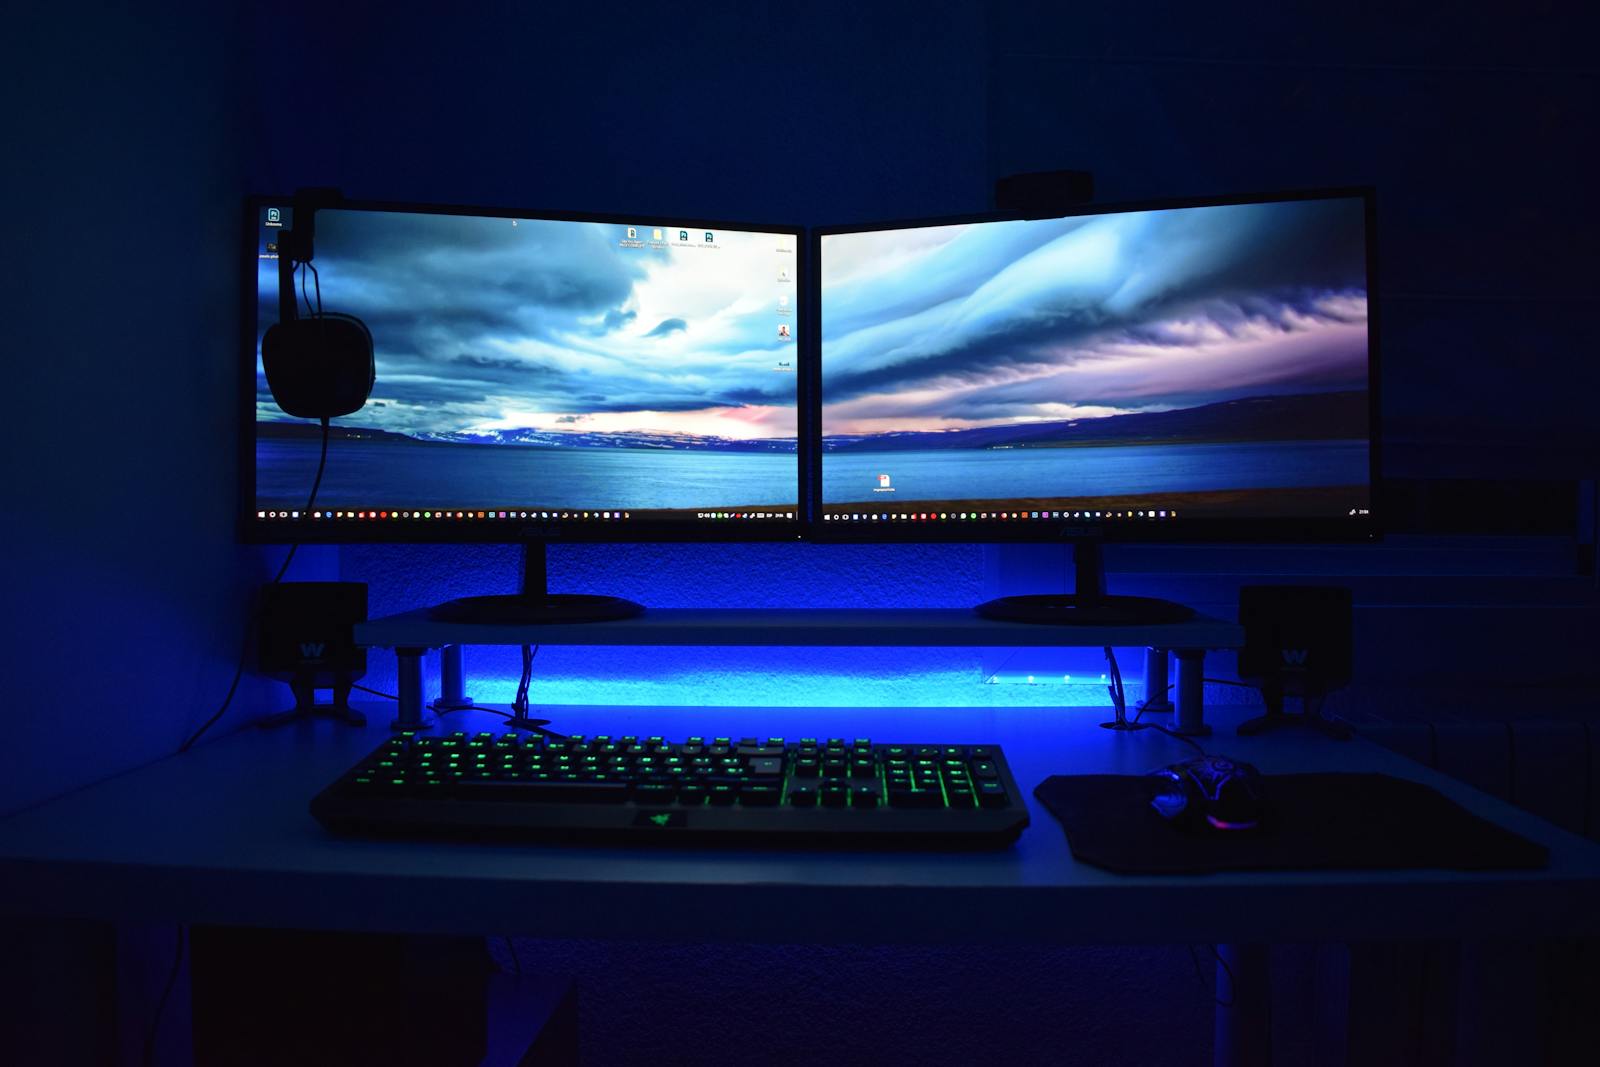
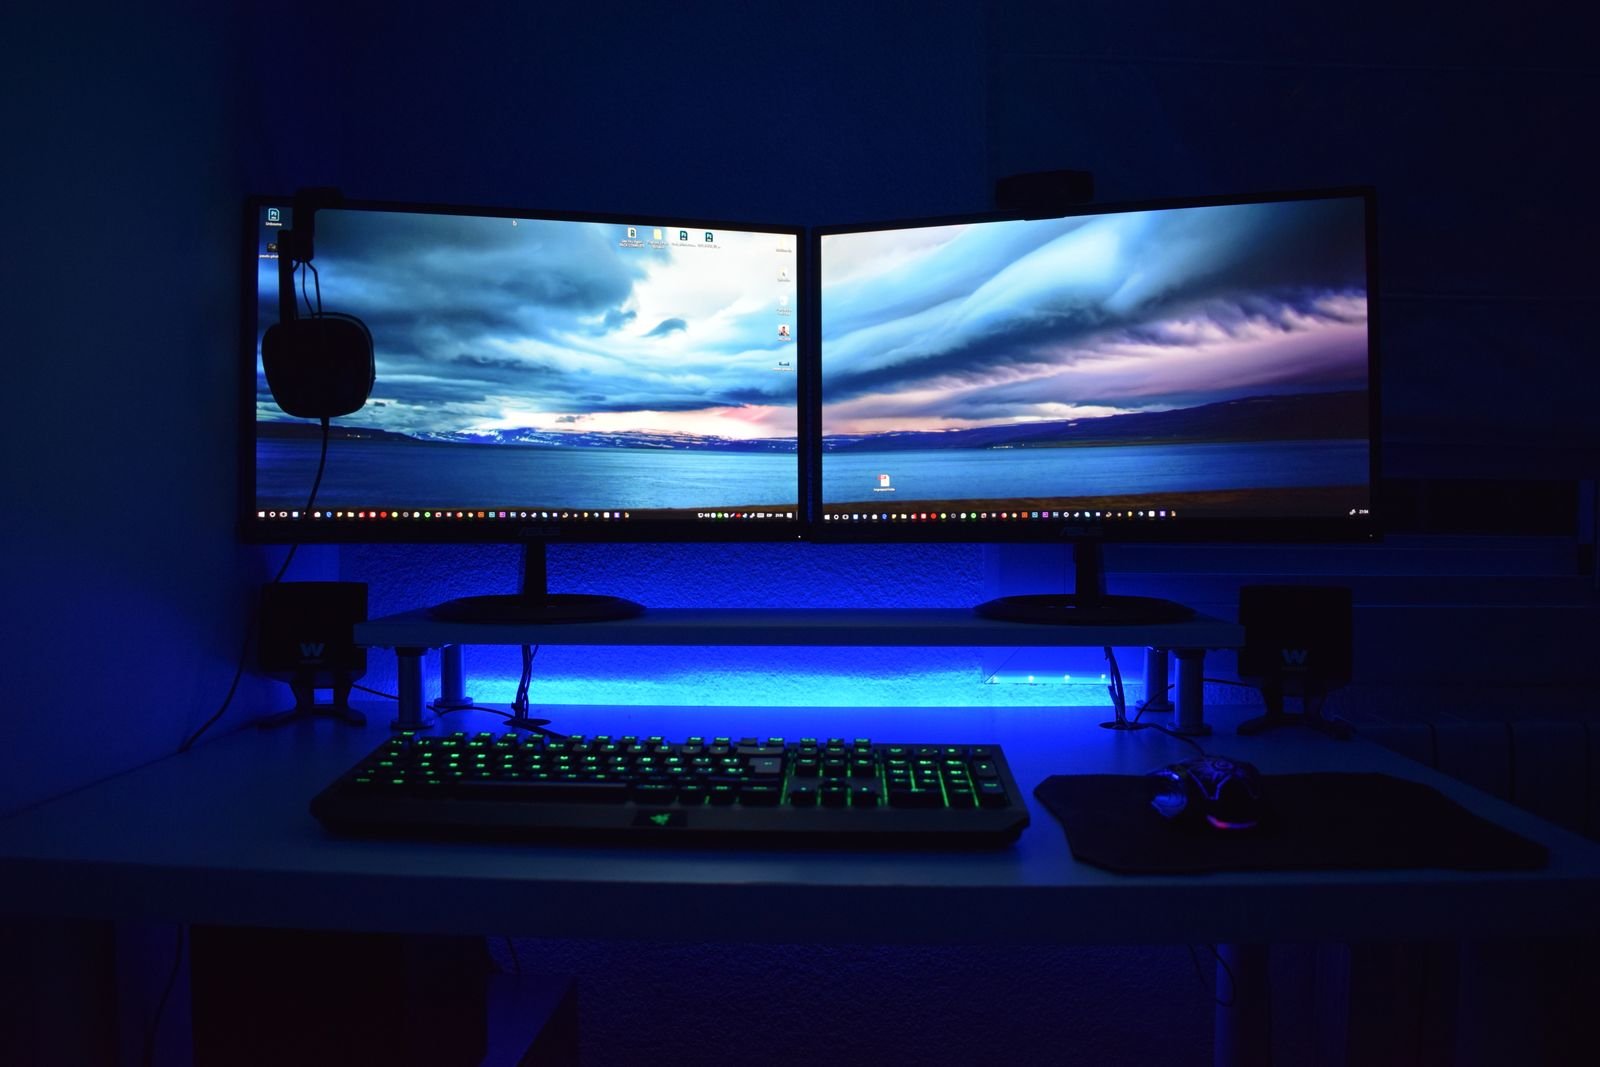
Learning how to set up dual monitors on Windows 11 is one of the highest-impact upgrades you can make to your workspace, and it costs far less than a new PC. A second display gives you room to keep your email or chat open on one screen while you work on the other, compare documents side by side without constant alt-tabbing, or keep research visible while you write. Studies consistently show that extra screen space boosts productivity for office work, coding, design, and even casual multitasking. The good news is that Windows 11 makes the whole process straightforward: in most cases you simply plug in the second monitor, and the operating system handles the rest. In this guide, you will learn how to set up dual monitors on Windows 11 from start to finish, including choosing the right cables, arranging your displays, setting a primary monitor, fixing detection problems, and getting the most out of your new workspace.
What You Need Before You Start
Before you plug anything in, gather the right hardware. You need a second monitor, of course, plus a cable that matches the ports on both your PC and the display. The most common modern connections are HDMI and DisplayPort, and both carry high-resolution video and audio over a single cable. DisplayPort is generally the better choice for high refresh rates and resolutions above 1080p, while HDMI is ubiquitous and perfectly fine for standard office setups. Older monitors may use DVI or VGA; if your PC lacks those ports, an inexpensive active adapter will bridge the gap. Check what video outputs your computer actually has: desktops usually offer ports on the graphics card at the back, while laptops may have HDMI, USB-C with DisplayPort Alt Mode, or Thunderbolt. A USB-C port with DisplayPort Alt Mode can drive a monitor directly with a USB-C to HDMI or DisplayPort cable, and docking stations can add even more outputs. Finally, make sure you have a power outlet and a power cable for the second monitor, and a sturdy place to put it at roughly the same height as your main display for comfortable viewing.
Step 1: Connect the Second Monitor
With your PC powered on or off, connect the video cable from the monitor to your computer, then plug the monitor into power and switch it on. Windows 11 detects new displays automatically in the vast majority of cases, and within a few seconds you should see your desktop appear on the second screen, usually as a mirrored duplicate of your main display. If nothing appears, press the monitor’s input or source button to select the correct input, since monitors do not always auto-switch. If you are using a laptop, close or open the lid according to your preference; Windows lets you use the laptop screen plus the external monitor, or the external monitor alone. Once the image appears, you are ready to configure how the two screens work together.
Step 2: Choose Extend, Duplicate, or Second Screen Only
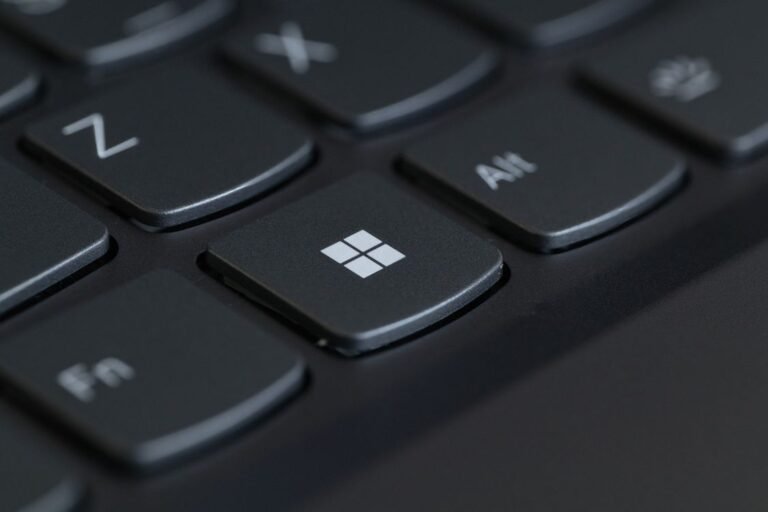
Windows 11 offers several display modes, and picking the right one is the heart of setting up dual monitors. Press Windows key + P to open the Project panel, where you will see four options. PC screen only uses just your main display and ignores the second one. Duplicate mirrors the same image on both screens, which is useful for presentations but wastes the potential of a second monitor. Extend is what most people want: it stretches your desktop across both displays, giving you one large continuous workspace where you can drag windows from one screen to the other. Second screen only turns off your main display and uses only the external monitor, a popular choice for laptop users who dock at a desk. Select Extend for a true dual-monitor productivity setup. You can also reach these options in Settings > System > Display, where the same modes appear in the “Multiple displays” dropdown.
Step 3: Arrange Your Displays to Match Your Desk
Open Settings > System > Display and you will see numbered rectangles representing your monitors. Their on-screen arrangement must match their physical arrangement, or your mouse will jump to unexpected places when crossing between screens. Click Identify to flash a large number on each physical monitor, then drag the rectangles so they sit exactly as the monitors sit on your desk: side by side, one above the other, or even at an angle. If one monitor is physically higher than the other, drag its rectangle up accordingly so the mouse transitions smoothly at the right height. Take thirty seconds to get this right, because a mismatched arrangement is the most common source of dual-monitor frustration. While you are here, note which rectangle is which; you will need the numbers for the next steps.

Step 4: Set Your Primary Monitor
The primary monitor is where Windows shows the taskbar’s system tray, where new apps open by default, and where the login screen appears. To choose it, select the desired display’s rectangle in Settings > System > Display, scroll down to Multiple displays, and check “Make this my main display.” Most people make the larger, better, or more central monitor the primary one. You can also decide how the taskbar behaves across screens: right-click the taskbar, choose Taskbar settings, and under “Taskbar behaviors” set whether the taskbar appears on all displays or only the main one, and whether app buttons show on every taskbar or just where their window is open. These small choices make a big difference to how natural the setup feels day to day.
Step 5: Match Resolution, Scaling, and Refresh Rate
For the sharpest image, each monitor should run at its native resolution, which Windows usually selects automatically; you can verify it under Settings > System > Display by selecting each monitor and checking the “Display resolution” dropdown, where the recommended value is marked. If text looks too small or too large on one screen, adjust Scale (try 125% or 150%) for that display independently. Mixed monitor sizes often need different scaling to make windows look consistent when dragged across. Gamers and creative professionals should also check refresh rate under Advanced display settings, since a 144 Hz monitor accidentally running at 60 Hz feels noticeably less smooth. If you are unsure what your displays support, the free My Device Info tool on the InsuraBytes Tools hub reports your screen resolution and system details instantly in your browser, which is handy when comparing specs.
Fixing “Second Monitor Not Detected”
If Windows does not see your second monitor, work through these fixes in order. First, click Detect under Settings > System > Display > Multiple displays to force a manual scan. Second, check the physical basics: is the monitor powered on, set to the right input, and is the cable firmly seated at both ends? Try a different cable or port if you have one, since marginal cables are a frequent culprit. Third, update your graphics driver through Windows Update or directly from NVIDIA, AMD, or Intel, because outdated drivers are the most common software cause of detection failures. Fourth, on laptops, try the Windows key + Ctrl + Shift + B shortcut, which restarts the graphics driver without rebooting. Fifth, if you are connecting through a dock or adapter, test the monitor with a direct cable to isolate the problem. In rare cases, a monitor that works elsewhere but not on your PC may need its firmware updated or may simply be incompatible with a particular adapter; borrowing a different adapter for testing usually settles the question quickly.
Getting the Most Out of Two Screens
Once your monitors are running, a few Windows 11 features multiply their value. Snap layouts let you organize windows precisely: hover over any window’s maximize button and choose a layout, or drag windows to screen edges and corners. Press Windows key + Shift + Left/Right arrow to fling the active window between monitors instantly. Dedicate each screen to a role: keep communication apps like email and chat on one display and your main work on the other, so reference material is always visible. Set different wallpapers per monitor by right-clicking an image and choosing “Set as desktop background” for a specific display, which makes it easier to tell screens apart at a glance. And if you present or share your screen, remember that most conferencing apps let you share just one monitor, so arrange sensitive windows on the display you are not sharing.
Conclusion
Now you know how to set up dual monitors on Windows 11: connect the right cable, press Windows key + P and choose Extend, arrange the displays to match your desk, set your primary monitor, and tune resolution and scaling per screen. The whole process typically takes under fifteen minutes, and the payoff in comfort and productivity lasts for years. If a monitor is not detected, check cables and inputs first, then drivers, and you will resolve nearly every case. Enjoy your expanded workspace, and for more free tools that make your PC life easier, from system info to file conversion, explore the InsuraBytes Tools hub.
Frequently Asked Questions
Can I use dual monitors with a laptop? Yes. Most modern laptops can drive at least one external monitor via HDMI or USB-C, giving you the laptop screen plus the external display. Many business laptops support two or more external monitors through a docking station.
Do both monitors need to be the same size? No. Windows 11 handles mixed sizes and resolutions gracefully, and you can set scaling per display so text looks consistent. Matching monitors looks tidier, but mixing a laptop screen with a large external monitor is extremely common.
Will dual monitors slow down my PC? For office work, browsing, and video, the impact is negligible on any reasonably modern PC. Gaming across two high-resolution monitors or running demanding creative apps benefits from a discrete graphics card, but everyday multitasking will feel just as snappy as before.
2 Comments